How to Deploy an OVF Template
1) In the vSphere Client, select File > Deploy OVF Template.
2) Specify the location of the template file

3) Review the OVF Template Details page and click Next.

4) Specify a name for the Virtual Machine and click Next.

5) Click Finish.
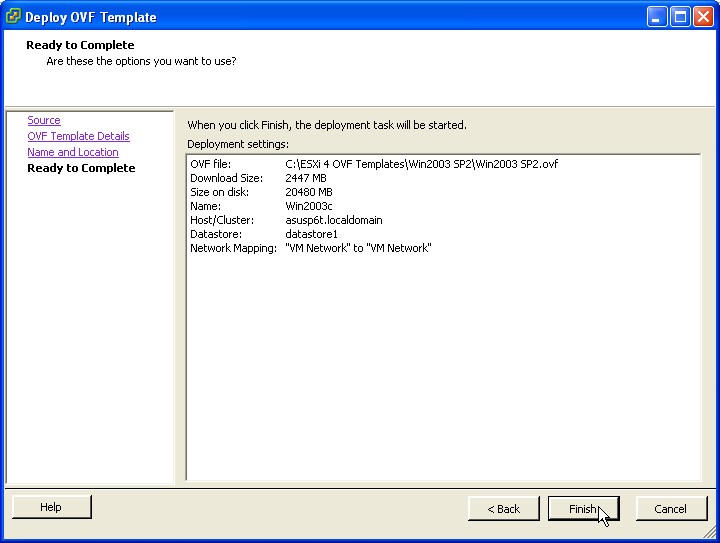
6) That's it! It took about 20 minutes and then the new virtual machine will show up in vSphere Client list.
Related Posts:
Part 1 The Time Has Come
Part 2 Running ESXi on VMware Fusion
Part 3 Building My ESXi Server
Part 4 Installing ESXi 4 on a USB Stick
Part 5 Installing vSphere Client on Windows
Part 6 Updating ESXi using vSphere Host Update Utility
Part 7 Browsing the VMware ESXi Datastore
Part 8 WinSCP to the Rescue
Part 9 Creating a VM
Part 10 Downloading a Virtual Machine
Part 11 Running vSphere Client from Ubuntu
Part 12 Running vSphere Client from Mac OS
Part 13 Adding/Removing a VM to ESXi
Part 14 Export in ESXi
Part 15 Deploying OVF Templates
Part 16 Adding a License Key


No comments:
Post a Comment