There is one Android open source project called Android-x86 that I found that is active and making great strides. I installed this version to learn more about Android. Here's how to install Android OS into VMWare Fusion 3.
1) Download the Android-x88 iso file.
2) From the VMware Fusion toolbar, select File > New
3) Click Continue without disc
4) Select Use operating system installation disc image file and then navigate to the android iso file, then click Continue
5) Choose Linux as the Operating System and Other Linux 2.6.x kernel as the version, and then click Continue.
6) Change the memory to 512M if your system has enough memory to allow this.
7) Change the hard disk to IDE. To do so, first delete the one created by default. Then add a new one and be sure to change the Bus Type to IDE and adjust the Disk size to 8 GB. Click Apply.
8) Start the Android virtual machine. Select the option to install to hard disk.
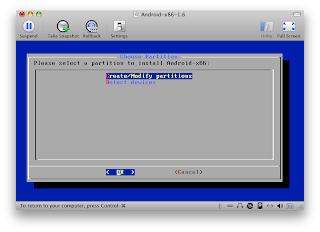
9) As we started with a clean disk, we need to create a partition to install.
10) This is the most complicated screen. First select New > Primary > Full Size of disk > Bootable > write > yes > Quit.
11) Choose the sda1 Linux partition you just created and click OK.
12) Choose the filesystem ext3 and click OK.
13) Confirm format of sda1 to ext3 by clicking Yes.
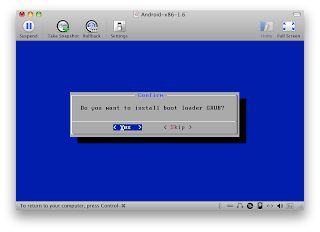
14) Click Yes to install GRUB boot loader.
15) You should now get the Congratulations screen. Choose Run Android-x86 and click OK.
16) Once Android has booted, you should now see the initial screen.
17) As a quick test, I used the browser to get to foodgawker.com and it worked!
18) Time to play with Android!


No comments:
Post a Comment